How to Wire a Garage: A Step-By-Step Guide
The process of wiring a garage typically takes one day for an experienced professional but can take up to three days if you do it yourself.
This post will cover every single detail of how to wire a garage so that the project goes smoothly, efficiently, and safely.
Why Might You Want to Wire a Garage?
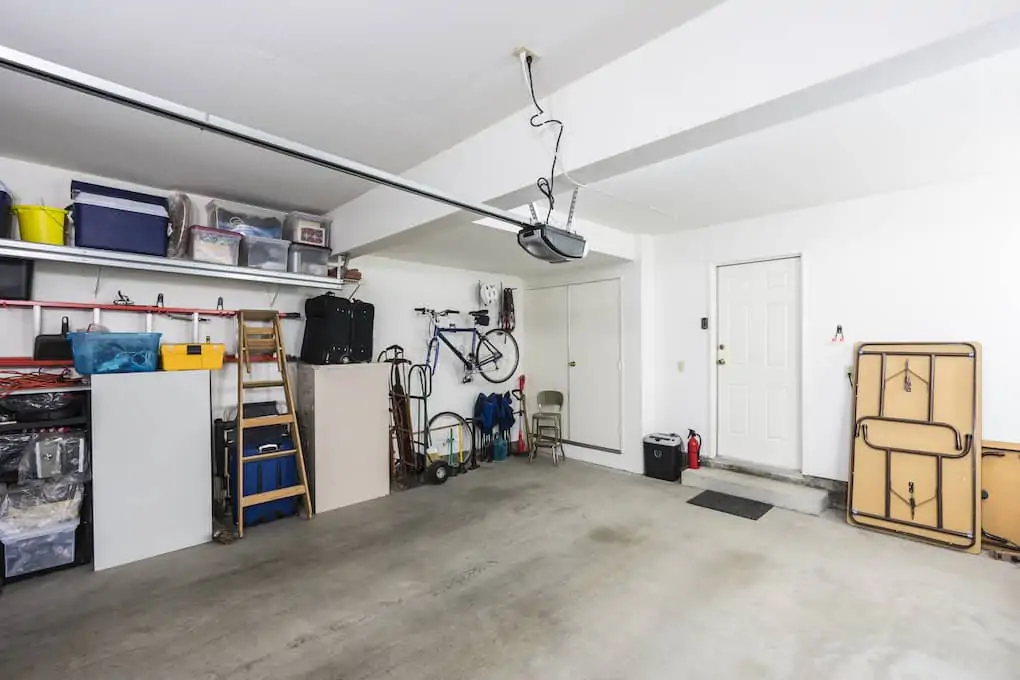
Garages don’t get the same sort of attention the rest of your house does when it comes to electrical work. So you may find that your garage has too few outlets for what you need, or is too dark and requires more light, or it came unfinished, and you have an opportunity to wire it how you want. However, no matter what your situation is, there are some special requirements for wiring your garage.
Things to Consider Before Wiring Your Garage
First, the way you wire your garage if it’s attached vs. unattached varies greatly. An attached garage, which is most likely what you have, can easily be wired with its own circuit and connect to the rest of the house.
An unattached garage, on the other hand, would need an entirely separate system. Many people might just cut corners and run an extension cord out to their separate garage—but that’s not sustainable. Homeowners may want to consider getting their unattached garage wired appropriately at some point. But for today, we’ll strictly be talking about attached garages.
Before you tackle wiring your garage, there are some things you need to know and consider first.
Exposed Wiring vs. Covering With Drywall
If you’re wiring an unfinished garage, you can definitely wire it without putting drywall or other wall coverings up. But this means your wiring lacks the protection of your home’s electrical system, and you need to install your wires and receptacles in a specific way to keep them compliant. We’ll lay out those specifics below.
How Many Outlets Do You Need?
Your outlets need to be placed 6 feet apart and at least 4 feet off the ground. If you are installing a workbench or want to place an outlet on the ceiling for lights or a garage opener, you need to strategically plan where they’ll go.
Start by marking where you want to install main outlets and go from there. Next, measure out 6 feet from those markings and place an “x” or tape where you can place your other outlets. It’s vital to do the measuring first before you begin. Once you cut into the wall or cut your cables, you can’t go back.
Are You Installing a Garage Door Opener?
If you plan to install a garage door opener system, it’s best to use 14-gauge wire. The more power the garage door opener requires the thicker your cable should be (12 gauge is standard). And if you’re considering installing an outlet on a ceiling where there isn’t one already installed for overhead lighting, make sure your wires can handle that capacity as well.

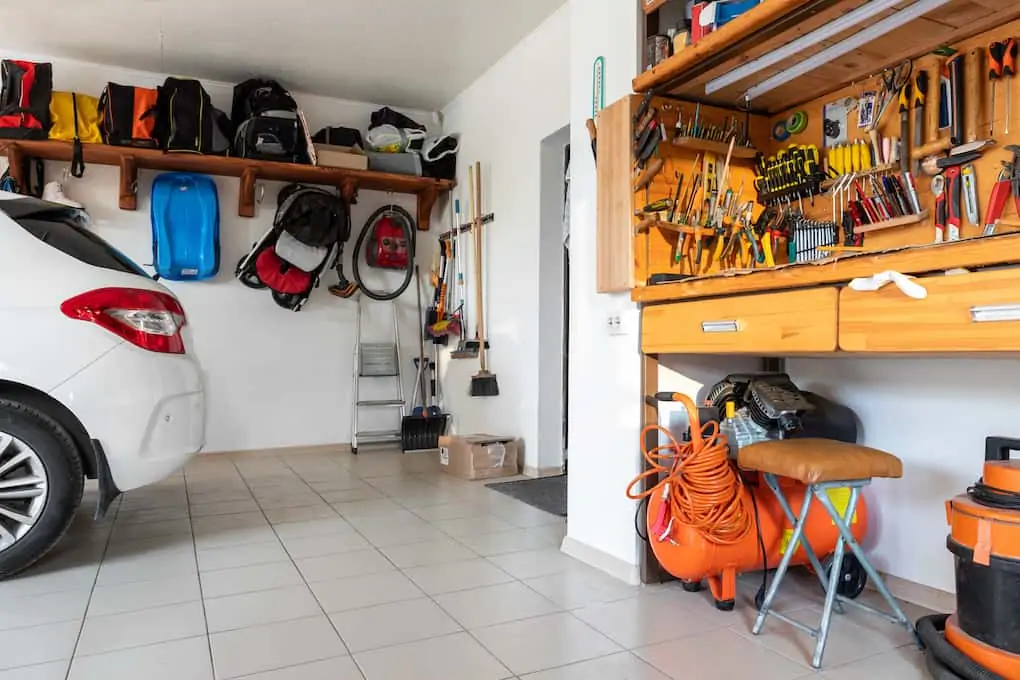
Do You Have or Plan to Have a Workbench?
Your workbench will require at least one outlet to power your tools and a light for the workspace. You can also hardwire some lighting to prevent cumbersome wires from getting in the way.
Lastly, you’ll want to be sure you have all of the things you’ll need to get the job done. The last thing you want is to keep making runs to the hardware store because you ran out of wire or don’t have enough staples. Also, consider your level of expertise. DIY homeowners can manage a lot, but electrical work is complex and dangerous, so reach out to 4Front Energy if you need the help of a professional to wire your garage.
Tools and Materials Required for This Project
Handlamp
Tape measure
Stacker staples
Electrical cables (use an outdoor cable if you are leaving them exposed in an unheated garage)
Step-by-Step Guide on How to Wire A Garage
Now that you’ve done your measurements, marked the spots you want outlets, and have purchased all the necessary materials, it’s time to get started! We’ll walk you through each step from beginning to end to wire your unfinished garage.
Step 1: Place Your Electrical Boxes
Start by setting your electrical boxes in the studs. If you’re planning to use surface-mounted receptacles, measure out where they’ll go and mark them with a pencil or marker before placing the box.
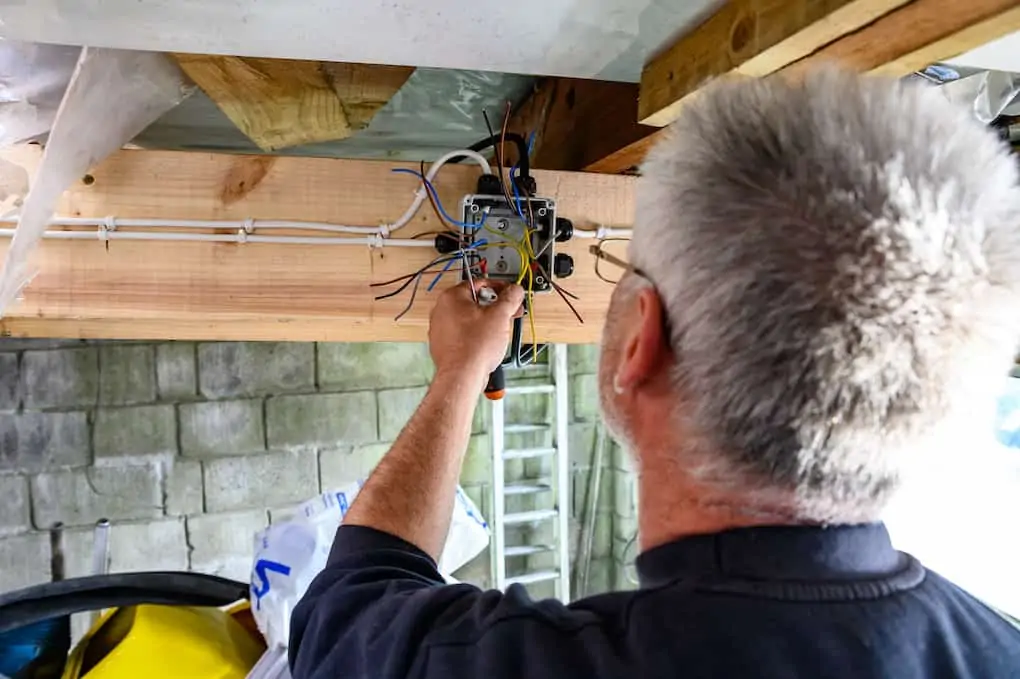
Step 2: Drill Holes in the Studs for Your Cables
Pre-drilling your holes to run your cables through each stud will save you a ton of time and energy. Keep in mind that the holes should be drilled as close to the framing as possible. The frame is where you’ll run all of your cables—avoiding adhering them to random joists or flat walls (where you’ll need to use conduit).
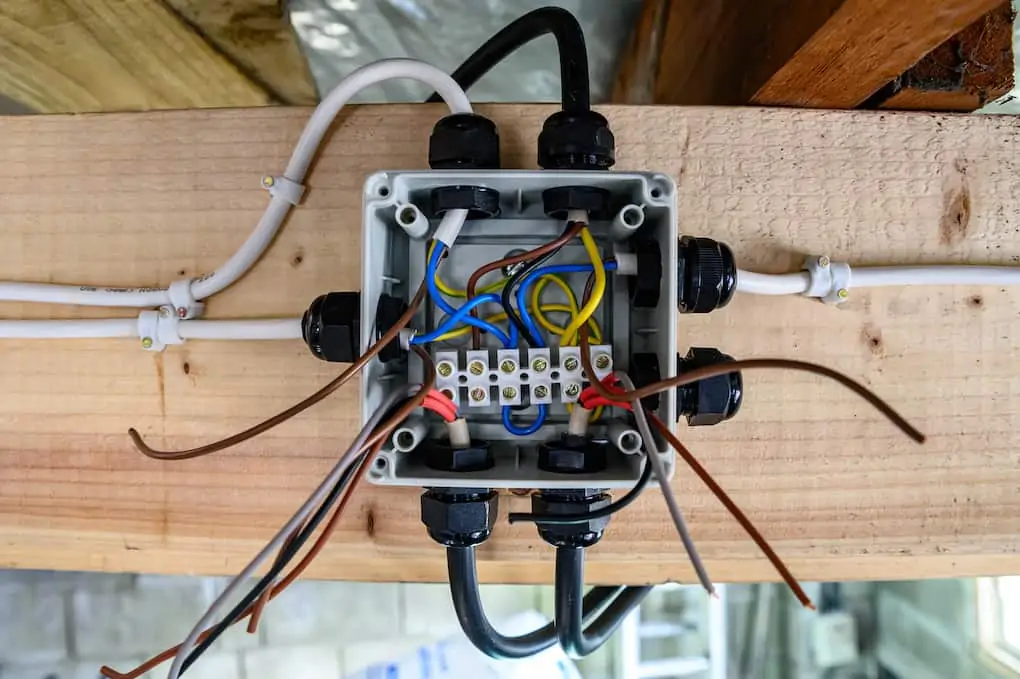
Step 3: Run Your Cable Wires Through Each Box
To run a cable from one box to another, you first strip at least 8 inches of sheathing off the wires, then thread the wires and one-half inch of sheathing through the wire opening in the box.
Electric code states you must hold all wires at least 1-1/4 in. away from the back and front surface of studs or joists. Most frames are 2×4, so you’ll be running two cables side-by-side. If you are threading three or more cables through an electrical box, make sure to use your stacker staples to keep them secure and in place.
Once your wires are run through the box, staple the untwisted cable outside the box at least every 4 ft. to the framing until you reach the next box. When you reach the next box, cut the cable about a foot longer than the length of the box, and repeat the same steps for each until finished.
Step 4: Run Your Cables Along Beams, Corners, Gables
As you run the cable around the garage to each electrical box or receptacle, make sure to staple appropriately every 48 inches, at least. You’ll want to pull the cables tight in corners and around the beams and gables to keep a tight fit, especially if you plan to install drywall over it. Keeping your cables tight keeps them neat and organized and prevents any damaged or frayed wires down the road.
Step 5: Install Conduits Where Appropriate
If you need to run wires along a flat wall, not on a frame or joist, you must protect the wire with a conduit. A conduit acts as a cover for your exposed wire and is secured with fittings that screw into the wall, keeping it in place. These are essential to keep wires flat against the wall, away from harm.
After you’ve wired all the areas necessary, capped the ends of your wires, screwed in your GFCI (this is required) receptacles and faceplates, and have cleaned up the workspace—it’s time to test your electrical! Try plugging in a light or power tool, and away you go!
If you want to be extra sure you are up to code, call 4Front Energy for a thorough inspection. Then, we can make sure everything is compliant and safe for you to continue using in your newly wired garage. And if you don’t want to tackle this alone, be sure to reach out for a FREE consultation, and we can get you set up with an appointment to get the job done.

Request Service

Why Choose 4Front Energy?
We’re a Service Company, Not a Sales Company
- Licensed, bonded & insured contractor
- Trusted Twin Cities service provider for nearly 30 years
- Reliable service excellence
- One number for electric, HVAC, and plumbing
- Stand behind our work with integrity
- Fair and straightforward pricing
- Provide invaluable comfort and integrated efficiency
- Technicians that take pride in their work