DIY Doorbell Wiring: How to Install a Doorbell in 7 Easy Steps
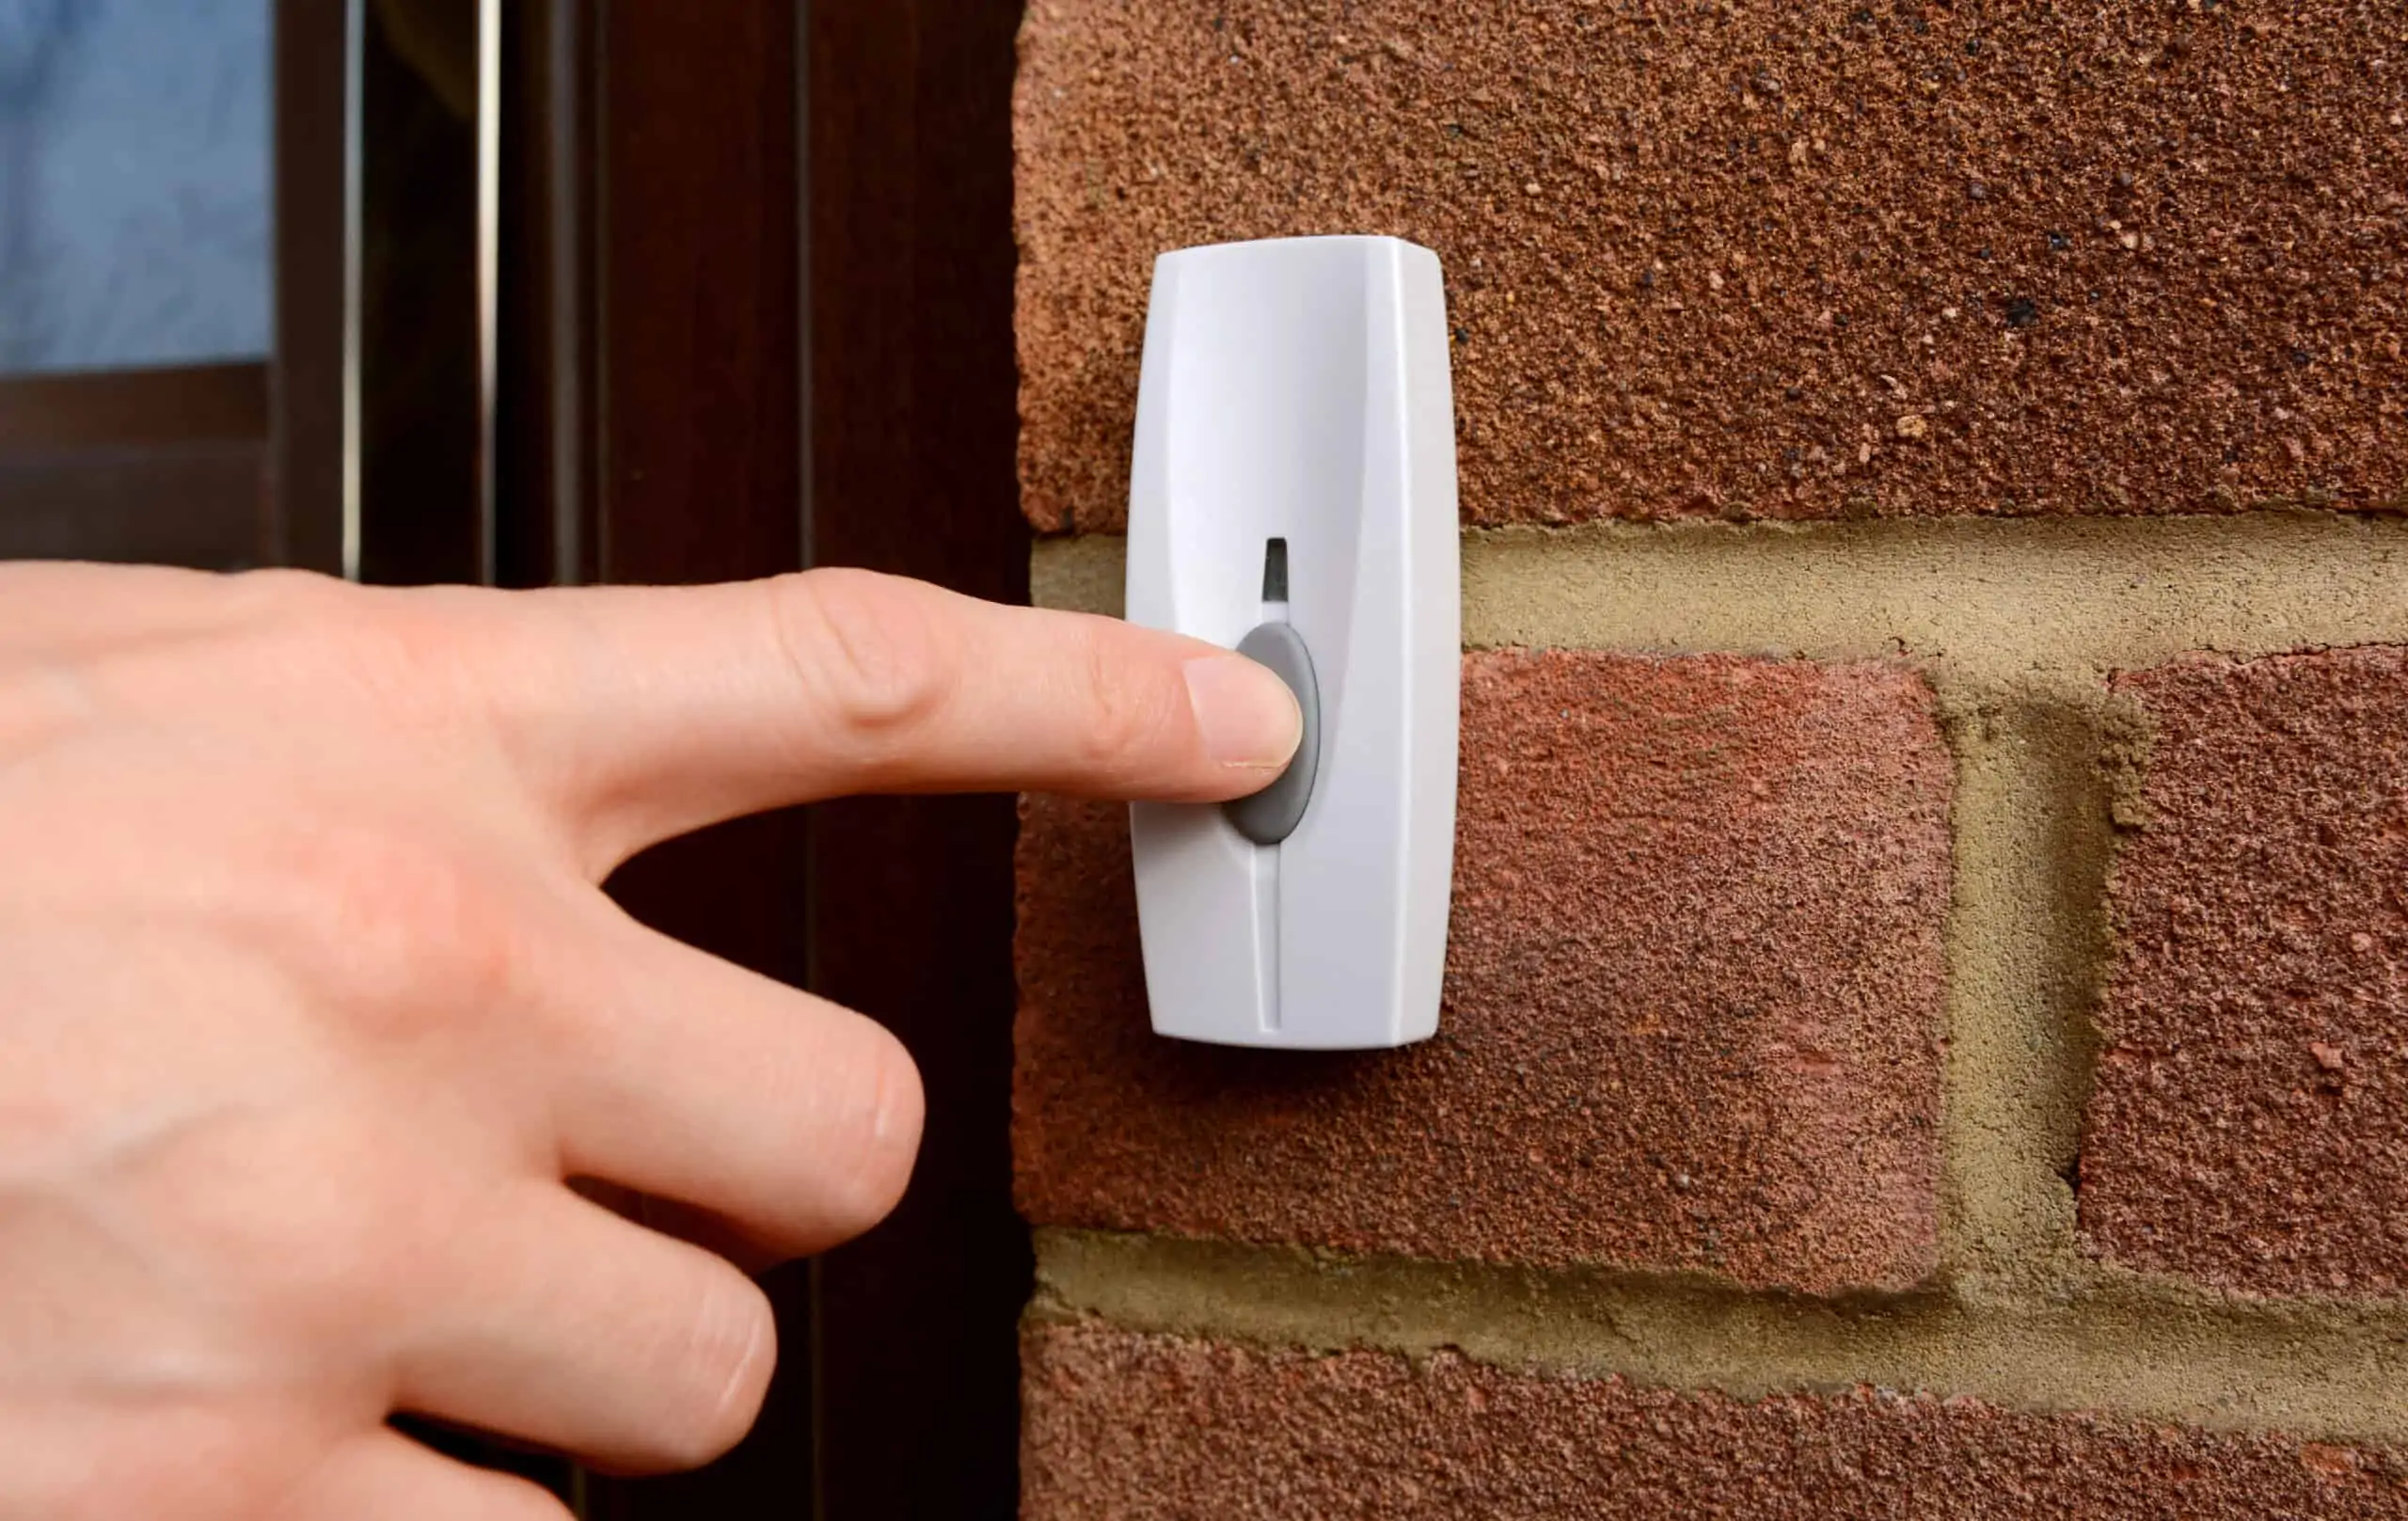
Looking to install a new doorbell into your home?
Our step-by-step guide will break down everything you need so you can get your new doorbell wiring working in no time.
For those with experience in electrical work, here is how to install a doorbell in 7 easy steps. We’ll preface these instructions by telling you to make sure you turn off the power supply to the doorbell system before starting.
How To Install Your Doorbell Wiring: 7 Simple Steps
Step 1: Attach your transformer to the junction box
First, thread the power supply wires into your electrical junction box through the appropriate holes. Take your transformer and position it on the opening on the side of the junction box. Then, fasten the transformer in place.
Step 2: Connect the transformer’s power supply wires to the home’s power supply wires
Now you’ll need to connect your transformer’s power to your home’s power supply using their individual wires. Make sure to match the corresponding colors (green to green, etc.) and twist them together. Use wire caps to hold them into place, as well as electrical tape if needed.
Then, put the cover back on the electrical junction box.
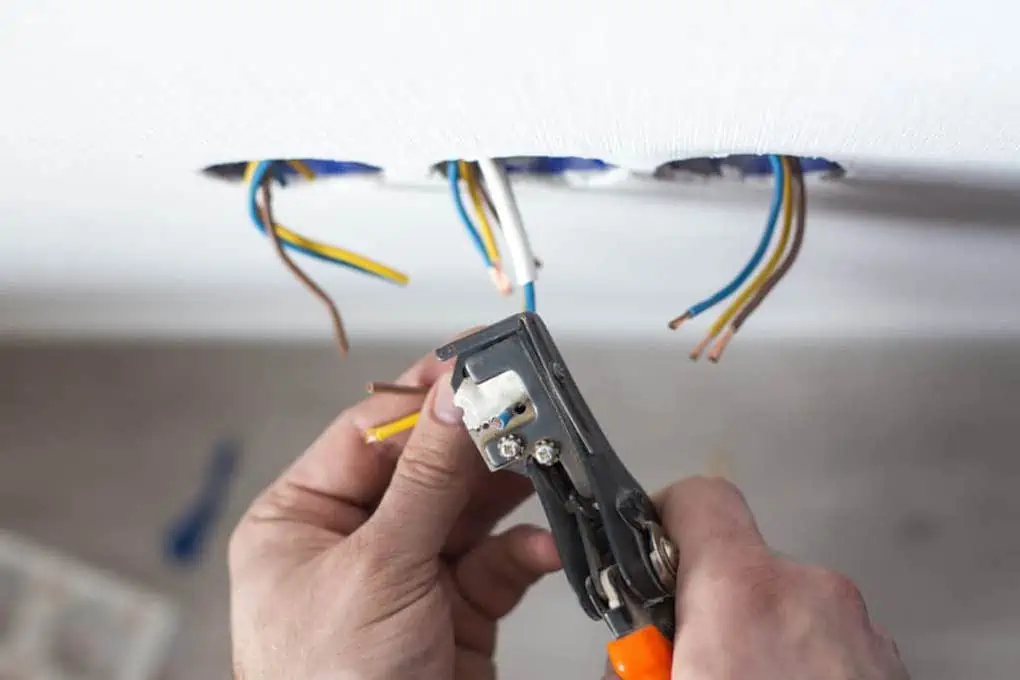
Step 3: Attach exterior wires to the push button
Your system’s button and chime wires should be left taped in place from the old system. Wrap the appropriate wires or wire groups around the corresponding screw terminals and use a screwdriver to tighten the screws in place.
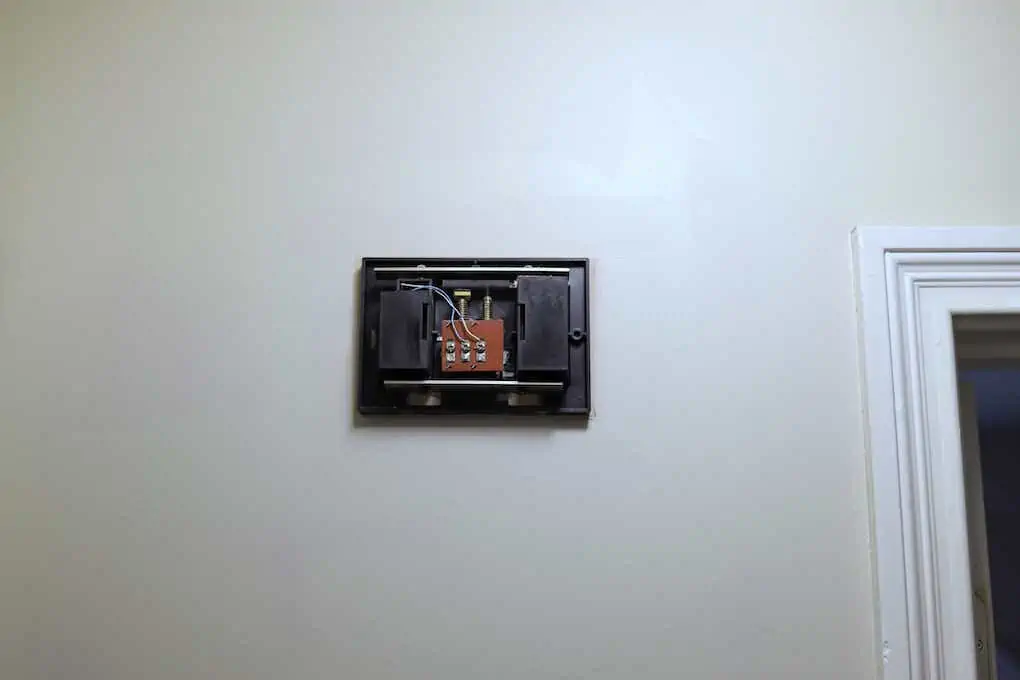
Step 4: Take the doorbell chime wires and thread them through the back of the chime
Find the wires and un-tape them. Then, thread them through the appropriate hold in the back of the chime. Once through, re-tape them, so you don’t lose them.
Step 5: Screw the chime in place
Position the chime on your wall. Place the left and right screws in the right holes on the chime and use a screwdriver to screw in the chime.
Step 6: Attach the doorbell wires to their appropriate terminals
Place each wire on its corresponding terminal and use a screwdriver to tighten it in place and cover the chime.
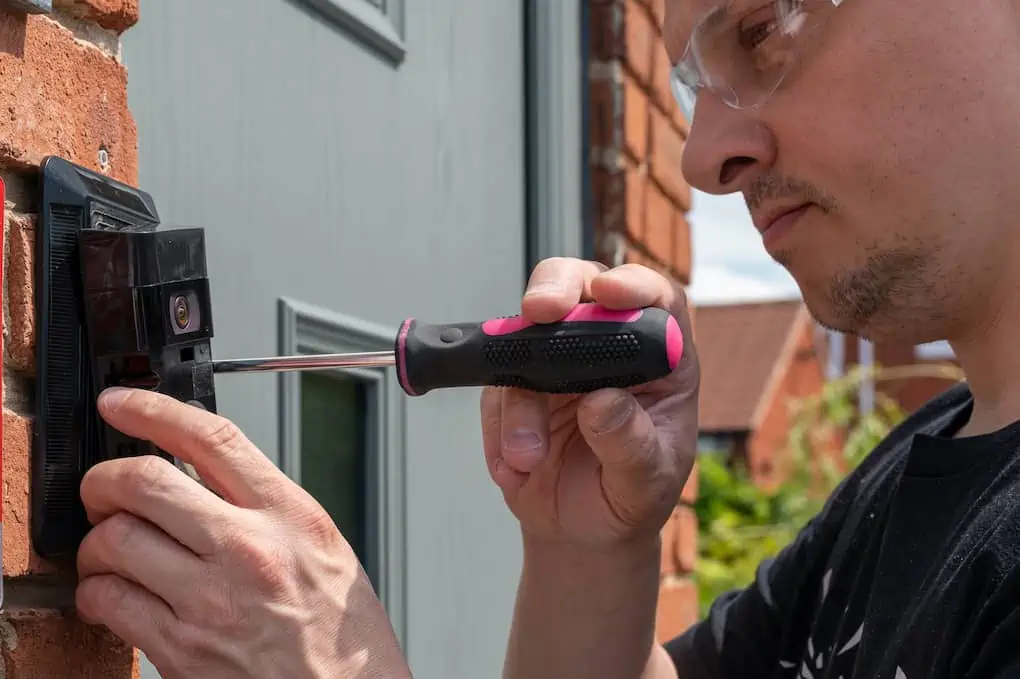
Step 7: Make sure your doorbell is working
If your doorbell is functional, take off the cover and see if you can see what the issue might be. If you can’t find anything, reach out to a professional electrician who can help you out!

When In Doubt, Call The Professionals
If you don’t have extensive experience with electrical work already, consider enlisting the help of a licensed contractor to assist with doorbell installation and wiring. Electrical work of any kind can be dangerous if you don’t know what you’re doing. Unless you’re confident and comfortable performing an electrical project on your own, call a pro.
For Minnesota residents that are in need of residential electrical services, reach out to 4Front Energy today! We’re the premier electrical service provider in the area and can handle any electrical needs you have.

Request Service

Why Choose 4Front Energy?
We’re a Service Company, Not a Sales Company
- Licensed, bonded & insured contractor
- Trusted Twin Cities service provider for nearly 30 years
- Reliable service excellence
- One number for electric, HVAC, and plumbing
- Stand behind our work with integrity
- Fair and straightforward pricing
- Provide invaluable comfort and integrated efficiency
- Technicians that take pride in their work